Growing Peppers, Pepper Facts
Guide on How To Grow Carolina Reapers in the Philippines
The former king of the hot peppers, Carolina Reapers, have long since gained popularity after it first came into the pepper limelight and held the hottest pepper in the world title way back in 2013. Despite being dethroned only a year after, it still is considered one meanest boy in the market and has become a worldwide favorite for hot pepper lovers, farmers, and collectors even to this day. It is so hot that normal gloves will not protect you from its spicy bite if not handled carefully.
Eating Carolina Reapers can be quite a mouth blowing chaos, but farmers often find growing them to be a more challenging endeavor. And this is especially true if you’re trying to grow them in tropical regions such as here in the Philippines since this hot pepper was initially grown and cultivated in America’s temperate climate. However, don’t give up yet because growing Carolina Reapers can be super easy even for the newbies out there with the right farming guidance.
Growing Guide of Carolina Reapers: From Seeds to Harvest
Although the Philippines is generally a tropical country, we still have varying prevailing conditions in every region from Luzon, Visayas, and Mindanao. Hence, all of these methods or practices and growth requirements are subjected to modification. So before planting Carolina reapers, do check your area’s environmental and climatic conditions all year round beforehand.
Choosing Your Carolina Reaper Seeds
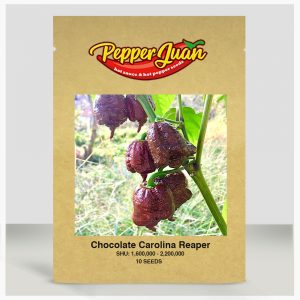
With the growing hot pepper community in the country, you can easily buy seeds from local growers or you buy Carolina Reaper seeds from our website https://pepperjuan.ph . You also have the option of ordering your seeds from the US or other countries. However, many growers attested that seeds coming from temperate regions often take a long time to germinate, and the germination rate is also lower than expected.
This can be because they need to acclimatize first to a more tropical setup since their parent plants were grown in temperate conditions. Hence, we advise simply get your seeds from local hot pepper growers and farmers. Furthermore, if you plan to grow your seeds later, it’s best to store them in a dark, dry, and relatively cool place. Please don’t just throw and store them anywhere, and expect that they will still germinate eventually. Even seeds require specific storage conditions to keep them viable.

Prepping Carolina Reaper Seeds
If there’s one thing you should never do with hot pepper seeds, it’s planting them immediately as soon as you got them. According to the Reaper creator himself, Ed Currie, pepper seeds such as Carolina Reapers require a certain prep regiment that you should follow to ensure their germination. And this is composed of a two-step method: refrigerating and seed soaking.
- Seed Stratification
Subjecting seeds under cold temperatures to break seed dormancy is what we call cold stratification. Refrigeration mimicks wintertime for a few days and then brings out to warmer conditions as if springtime already. Smokin’ Ed advises that storing your Carolina Reaper seeds in the fridge for three days should do the trick.
- Tea Soaking Method
After giving your seeds a chill in the refrigerator, the next step you should do is the tea soaking method. And it calls for none other than black tea; however, you can also use green tea as an alternative. Soak your seeds on the solution for 30 minutes to about an hour. Ensure that they are fully immersed in the liquid so that the tea extract evenly covers the entire seed. Tea soaking will help soften the seed coat or shell to help ease germination.

Read more about the 5 Methods To Break Seed Dormancy.
Seed Germinating
If you ask any hot pepper grower out there, the hardest stage for growing these bad boys is during germination. It’s considered the most critical phase and requires special care and attention, especially if you’re a newbie grower. Do take note that Carolina Reapers generally take 4 to 6 weeks to germinate. It’s longer than other pepper species, so patience is the key here.
There are some accounts that their Reaper seeds only took two weeks to germinate; however, that will not always be the case all the time. After all, several different factors affect the germination period and rate of seeds, and some of them you cannot control at all.

Now, you have the option of directly sowing your seed after prepping them, or you can do the tissue paper method first. We recommend the latter as it’s a great way to segregate the viable seeds from the non-viable ones before planting them in the soil.
Read more on Tissue Paper Method.
Medium Mix
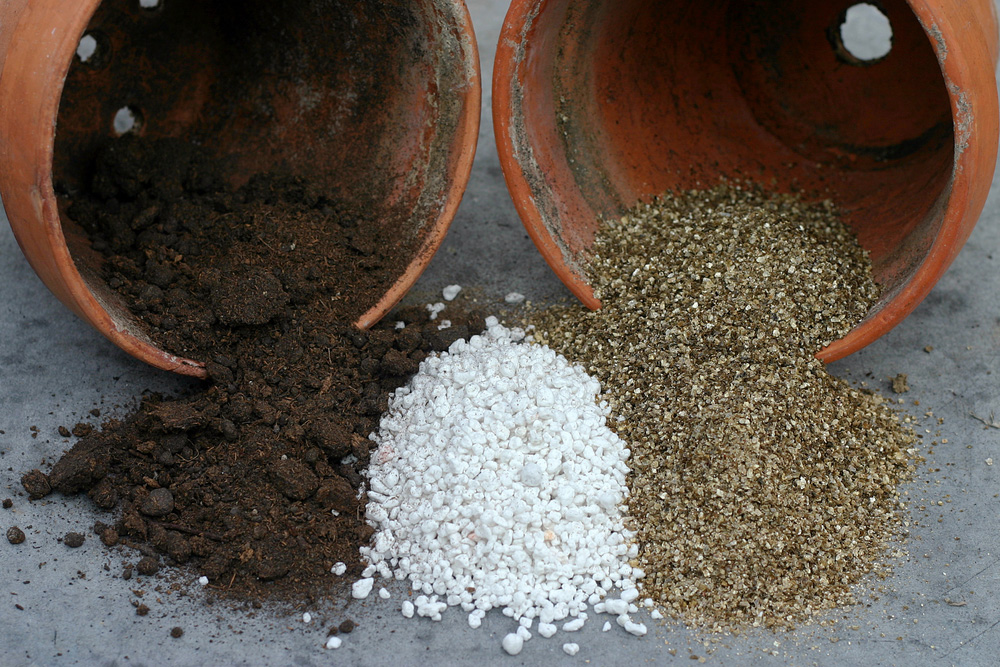
A good organic potting mix is one of the key ingredients for a successful Carolina Reaper germination. There are already pre-mixed medium options on various online and local agriculture stores that you can buy. But if you’re the DIY kind of person, you can also mix up your medium.
The goal is to create a medium with a loose texture and is well-drained to avoid waterlogging conditions. A mixture of one gallon of sphagnum peat moss to a gallon of either perlite or vermiculite, all added topped off with cow manure, is considered the best option. Another alternative is a 1:1:1 mixture of loam soil, coco peat or rice hull, and cow manure.

Sowing Carolina Reaper Seeds
The other make or break factor when it comes to germination is during sowing. You do not just simply dump or throw them on the ground. Place about two to three inches of your medium in a germination box or tray. You can use alternative recyclable containers such as Tupperware, egg trays, and even cans; just be sure to poke some holes underneath.
Plant Carolina Reaper seeds at a depth of about 1/8 of an inch. It may seem too shallow, but trust me, it’s just the right depth to allow the seed’s cotyledon to pop out of the ground without much restriction. To avoid drowning your seeds, it is advisable to moisten your medium before sowing. You can only sprinkle or spray additional water whenever the medium has dried out a bit.
The germination period can extend longer than usual if the soil temperature is lower than the optimum. This normally happens during the rainy season, when the weather is much cooler in the country. Ensure the temperature periodically and use any heat pads method to keep it at 80-85 degrees Fahrenheit.
Acclimatizing and Transplanting Carolina Reapers Seedlings
-
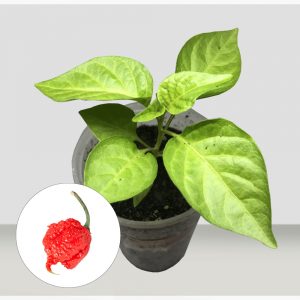
 Red Carolina Reaper Seedlings₱189.00
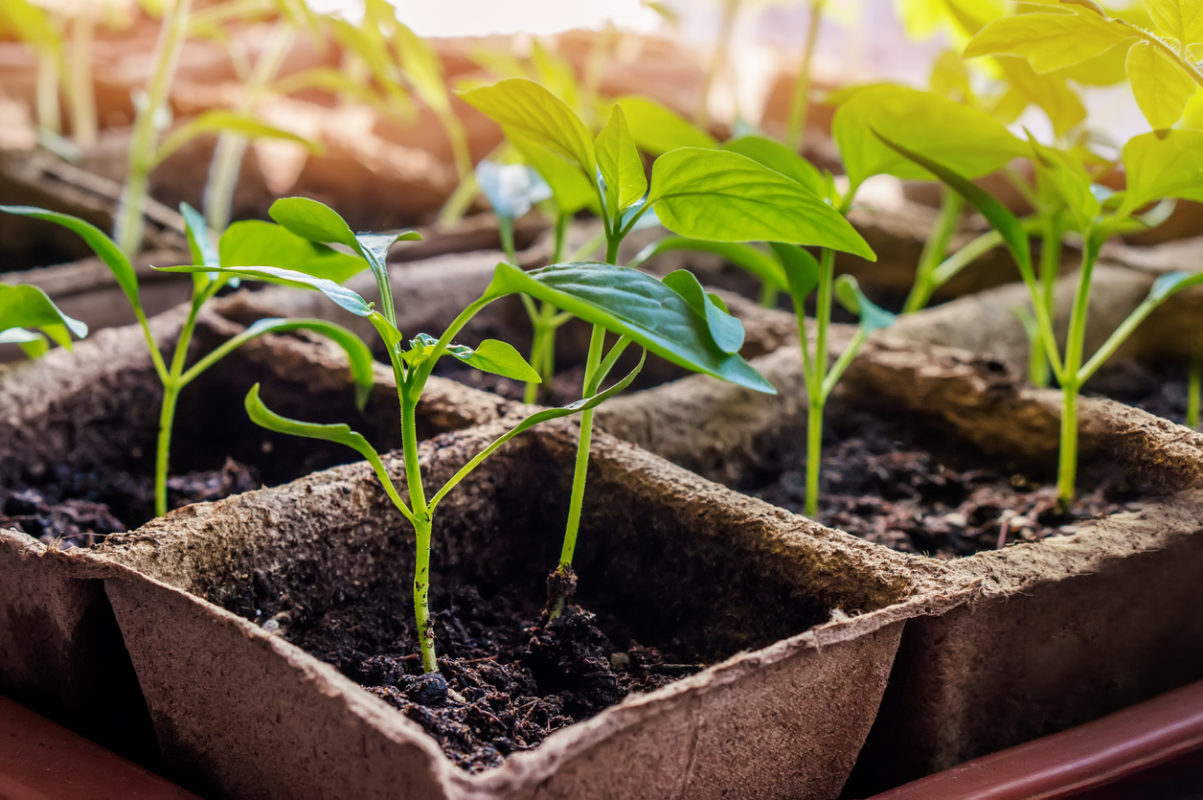
Once all of your seeds have germinated and are showing the first set of true leaves, then it’s time to transplant them to larger individual pots. You can place them on their final pots, or you can first allow the seedlings to grow larger in smaller containers before finally transferring them to larger ones or on the ground. However, never transplant the newly germinated young seedlings directly on the ground. Doing so will give them a shock and can lead to plant stress. Hence, the need for acclimatization.
Do you get headaches or even nausea when you step out under the blazing sun after spending hours inside the cold malls? Well, plants get the same stressful feeling if you put them out in the sun right off the bat. Acclimatization is the process of allowing your seedlings to adjust to a different environmental condition gradually.

Carolina Reaper seedlings must be slowly acclimatized from partial shade to full sunlight six to seven weeks after germination. You can do this by gradually increasing their sunlight exposure time until you finally hit the 10-12 hour mark. Do this for a week or two before finally transferring them out in the open field. Space the seedlings at about 10 inches apart to give them some room to grow.
Fertilization and Maintenance
When it comes to fertilization choosing the right one and giving the proper amount is critical. You don’t need to add in any fertilizer during germination; the cow manure will already suffice. After transplanting on the ground, add a good dose (the amount is indicated on the label) of complete 14-14-14 fertilizer. The next time you give your Carolina Reapers a fertilizer dose was when they started blossoming. However, this time it is with a diluted fish emulsion (1 ounce to 1 gallon of water). You can also use Flora Bloom to help stimulate blooming and fruit formation.

In the case of watering, Carolina Reapers can be quite fussy about the amount of water they should be given daily. Overwatering can lead to waterlogging and fungal growth, while the opposite extreme can lead to wilting, drying, yellowing leaves, and death. According to Smokin’ Ed, always keep your soil moist but not soaking wet. Only water your pepper plants when the soil is drying out but not completely dried out.
Make it a habit to pull out the weeds and aerate your pepper plants’ surrounding soil at least once a week. You can also use plastic mulch or crop covers to keep the soil moist. This practice can also keep the pesky weeds at bay. If all goes well, then you should enjoy the fruits of your labor five to six months later.


